
5 Things I Learned About Honeybook Lead Forms

They say the fastest way to learn is to do. I spent most of last month setting up lead forms and learned five things that will help you set up yours.
I created lead forms for two very different businesses in California. One was a wellness retreat company, and the other offers swim classes for children and infants.
Lead forms are one of my favorite Honeybook tools. They let you capture payment for a service or product quickly and get on with it. You can add a scheduler to the form to book appointments. You can attach an automation to move your client to their next step. And, they’re very flexible - you can find a way to use them no matter what kind of business you run. I’m a fan. Honeybook: It’s not just for wedding vendors and photographers anymore!
But here are a few things you need to watch out for or double-check when you’re designing your lead form templates:
1. You Should Defiinitely Link Your Questions to Project Smart Fields
Hover over each question, and click on the cog in the top right corner. Choose a smart field to link the question to - it will populate into their project and into any other form you create for them that has that field in it - brochure, contract, proposal, etc. I actually did know this, but it leads to a new learn:
2. The Smart Field Links in Your Lead Form Might Not Transfer Over to Your Project. But You Can Fix This.
Why? Because the project smart field in your lead form and the one in your form template aren’t the same. For example, if you ask for an address in your lead form, “Address” doesn’t automatically transfer to the “First Client address” smart field in your contract template. That smart field has to match in both forms. Which seems like a “Duh!” but could also kill you as an assumption. Watch what field you’re linking to!
The cure is to create a custom project field for “First Client Address” (or whatever you need to populate into the project) and add it to your lead form, if it’s in your contract template. Find out how to create a custom project field here.
I had so much fun creating new project smart fields, you guys!

Honeybook Templates for Sale
Including a lead form that you can customize for your business.
3. Don’t Clump Up Projects For Your Frequent Customers.
Click the cog way up at the top right of your lead form, to the left of the three vertical dots - this is where you configure your settings. Scroll down - This is what you’re looking for:
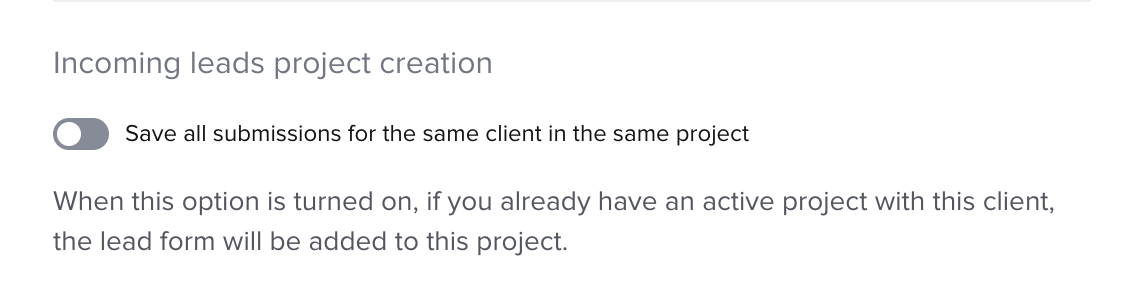
If you click this on, the project that you’re creating with this lead form will be added to the last project your client hired you for. Click it off and keep them separate.
And take a look at what else is in that settings page, too, while you’re in there.
4. You Should Edit Your “Next” Button
Tell them what’s actually on the next page. This is something I’ve been doing with my own lead forms for a while, and what I learned now is that my clients like it, too!

Go up to the top of your lead form and hover over the back arrow until the Edit cog pops up. From there, you can edit what the Next button says.
5. Lead Forms Are Better Than Google Forms!
This is a hill I will die on. If you’re capturing information with a Google form, you still need to transfer that info into your Honeybook account. A lead form lands everything into Honeybook. And the lead form can get you paid and schedule projects and appointments in one shot. Transfer your Google Forms over!
What else do you need - or need to know - about your Honeybook account? Let’s talk. Click here to let me know what’s going on, and schedule a free consultation.
I’ll talk to you soon,
Elizabeth